Cart
0
Introduction
Resin clocks are more than just timekeepers; they are stunning pieces of art that can transform any space. Combining functionality with artistry, resin clocks have become a popular choice for home decor enthusiasts. Whether you prefer vibrant ocean waves, mesmerizing geode patterns, or elegant wood and resin combinations, a resin clock can reflect your unique style. In this blog, we’ll explore everything you need to know about resin clocks—from materials and techniques to maintenance tips and design inspiration.
1. What makes resin clocks special?
Resin clocks are celebrated for their glossy finish, depth, and versatility. The ability to encapsulate colors, glitter, wood, or even flowers within the resin allows for endless customization. Unlike traditional clocks, resin clocks can resemble art pieces with their glass-like surface and vivid details.
2. Materials Needed to Make a Resin Clock
Creating a resin clock at home is easier than you might think. Here’s what you’ll need:
- Epoxy Resin and Hardener: Ensure you choose a high-quality, clear-casting resin.
- Clock Mechanism: Available in craft stores or online, including hands and a battery pack.
- Mold or Wooden Base: Silicone molds for round clocks or wooden slices for a rustic look.
- Pigments and Additives: mica powders, alcohol inks, or acrylic paints for color.
- Safety Gear: gloves, a mask, and a well-ventilated workspace.
3. Step-by-Step Guide to Making a Resin Clock
Step 1: Prepare Your Workspace
Cover your work surface and ensure proper ventilation. Mix resin and hardener according to the instructions, stirring slowly to avoid bubbles.
Step 2: Add Color and Pour
Divide the resin into cups for different colors. Add pigments and mix thoroughly. Pour the resin into the mold or directly onto the wooden base, creating patterns with a stick or heat gun.
Step 3: Insert Clock Mechanism
Once the resin cures (usually 24-48 hours), drill a hole at the center for the clock mechanism. Secure it and attach the hands.
Step 4: Finish and Display
Sand edges if necessary, insert batteries, and your resin clock is ready to adorn your wall!
4. Design Inspirations for Resin Clocks
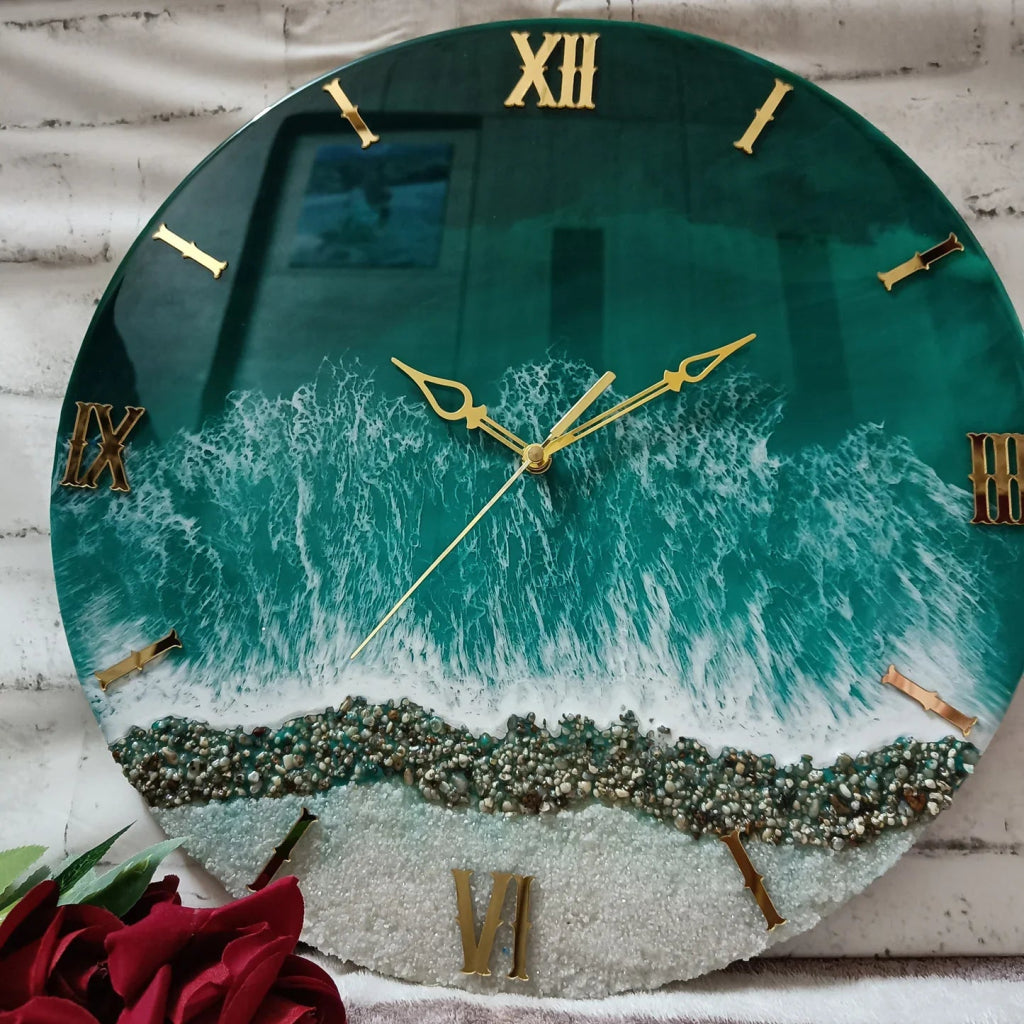
- Ocean Theme: Blues and whites with wave-like patterns.
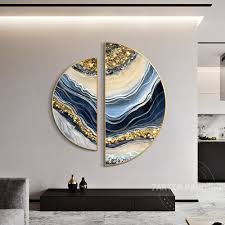
- Geode Style: Crystals and metallics for a luxe feel.
- Wood and Resin: Combining natural wood slices with transparent resin.
5. Care Tips for Resin Clocks
- Keep out of direct sunlight to prevent yellowing.
- Clean with a soft, damp cloth—avoid harsh chemicals.
- Handle with care to prevent scratches.
Conclusion
A resin clock is more than just a way to tell time; it’s a statement piece that reflects your personal style. Whether you create one yourself or purchase a handcrafted design, the beauty and elegance of resin clocks are truly timeless.
Ready to make your own resin clock? Share your creations and tag us with #ResinClockCreations!